
How to make an Easter wreath
Spring is in the air, and what better way to welcome the season of renewal and rebirth than by crafting a beautiful Easter wreath? Not only does it add a touch of festive charm to your home but it is also universally known that crafts are good for your mental health; engaging in craft can help alleviate anxiety, depression and loneliness.
So today I made a wreath for Easter and thought I would share the ‘how to’ with you all. So read on to learn how to make an Easter wreath. Let’s dive into this fun DIY project!
Materials Needed:
Wreath base
Spring flowers and foliage
Small decorative eggs
Ribbon in pastel colors
Hot glue gun and glue sticks
Themed decorations (optional but fun!)
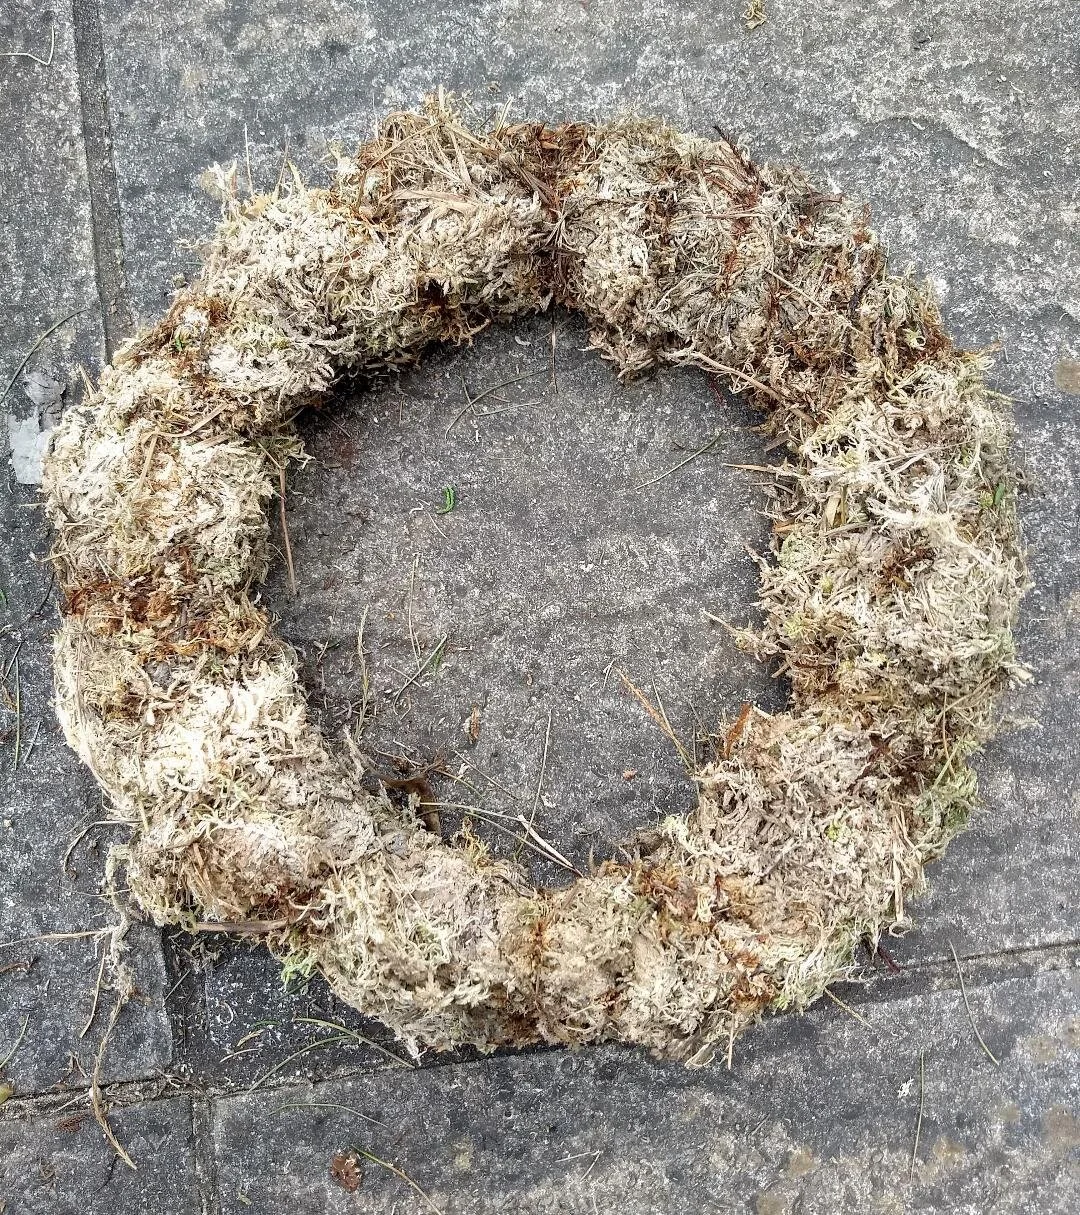
Christmas wreath base ready for the how to make an Easter wreath.
Step 1: Prepare Your Base.
There are lots of ways to make a base. You can wire/tie some twigs together to create a circular shape, you can use a shop bought base. Here the base of my wreath is the frame I used at Christmas. If you came to one of my classes you would have heard me say to recycle your wreath for Easter, well here you go, I am practising what I preach. I took off all the decoration and was left with this moss base.
To make the base more pleasing I added some greener moss. Just ensure you provide a sturdy foundation for your decorations and ensure that your wreath looks lush and inviting.

Newly mossed ready for the Easter wreath.
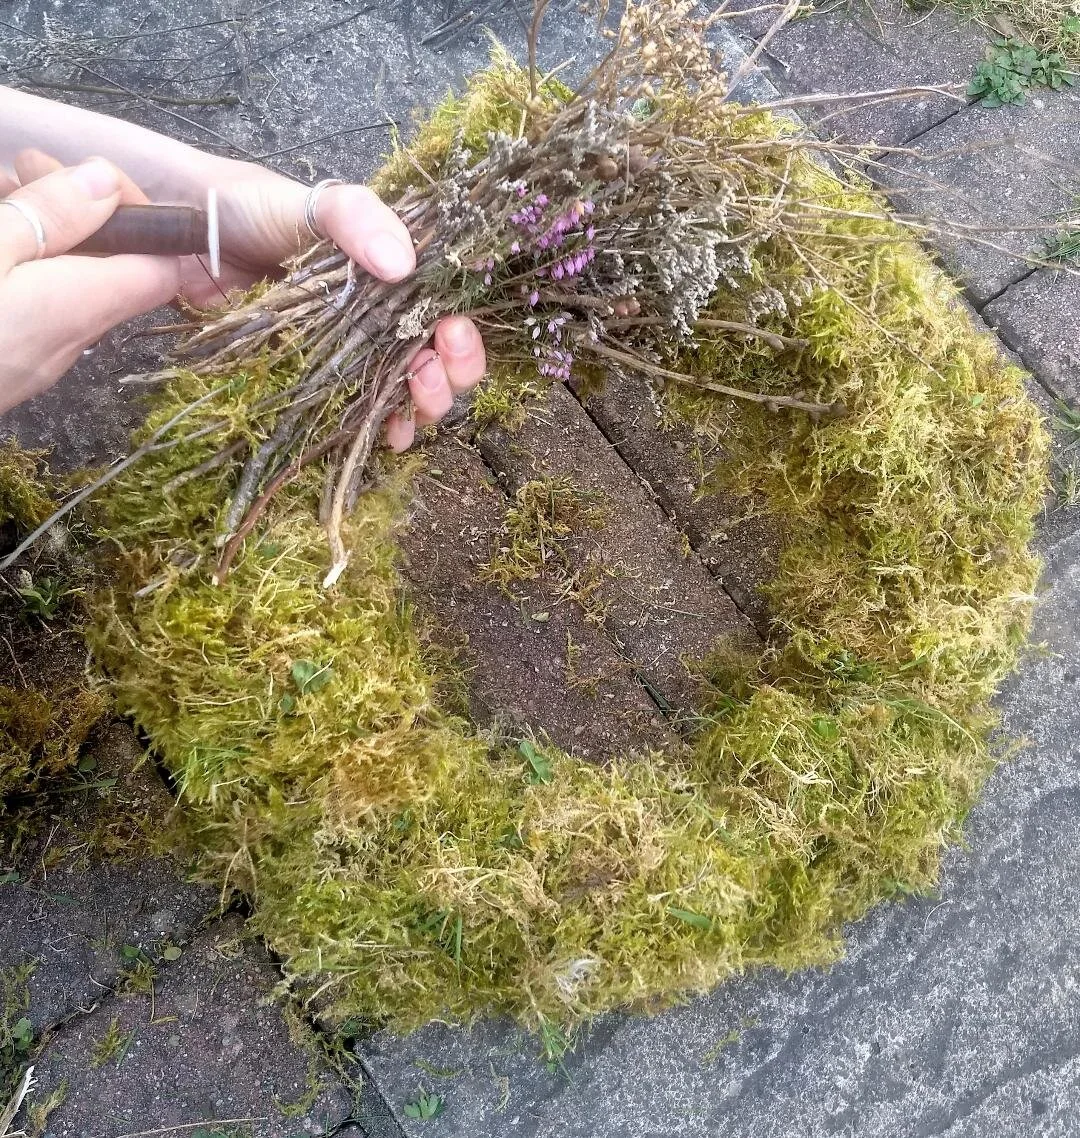
Add dried ingredients.

Wiring the dried ingredients for the Easter wreath
Step 2: Arrange Your Elements
Then I wired on handfuls of twigs and sticks (you can use string to attach the bundles). I have used some dried hydrangea stems, some twigs from my lavender and a little heather. Anything will work here. You can even gather colourful twigs off the floor (please do not pull branches from the trees or bushes.) The budded twigs were found by my children on the woodland floor.
This is what you are left with. My husband described this as “a circle of dead stuff”, he is not impressed with my how to make an Easter wreath instructions so far. But stay with me. I actually think it looks nice already but we now add all the pretty bits.

Twig wreath base for the Easter wreath.
I attached lots of feathers and a little bit of my neighbours fluffy pampas grass, looking better?
With feathers and grasses.
Step 3: Secure Everything in Place
It’s now time for the fun part. Arrange your flowers, foliage, and decorative eggs around the wreath. Opt for pastel colours like soft pinks, blues, and yellows to capture the essence of spring. Feel free to get creative with the placement, mixing and matching different elements to achieve a balanced look.
Here I have used a few dried everlasting strawflower heads, you could of course use any flowers you like. I then added some blossom, this will not last long but it is so pretty, some catkins, a couple of muscari from the garden and a few green buds. Lastly I wired on some egg shells that I had previously blown and painted with the kids.
IMPORTANT TIP: Make sure everything is fixed in place. If you are not comfortable using twine or wire to attach everything you can use a hot glue gun to secure the flowers, foliage, and decorations to the wreath base. Take your time with this step to ensure everything is firmly in place and won’t come loose over time.

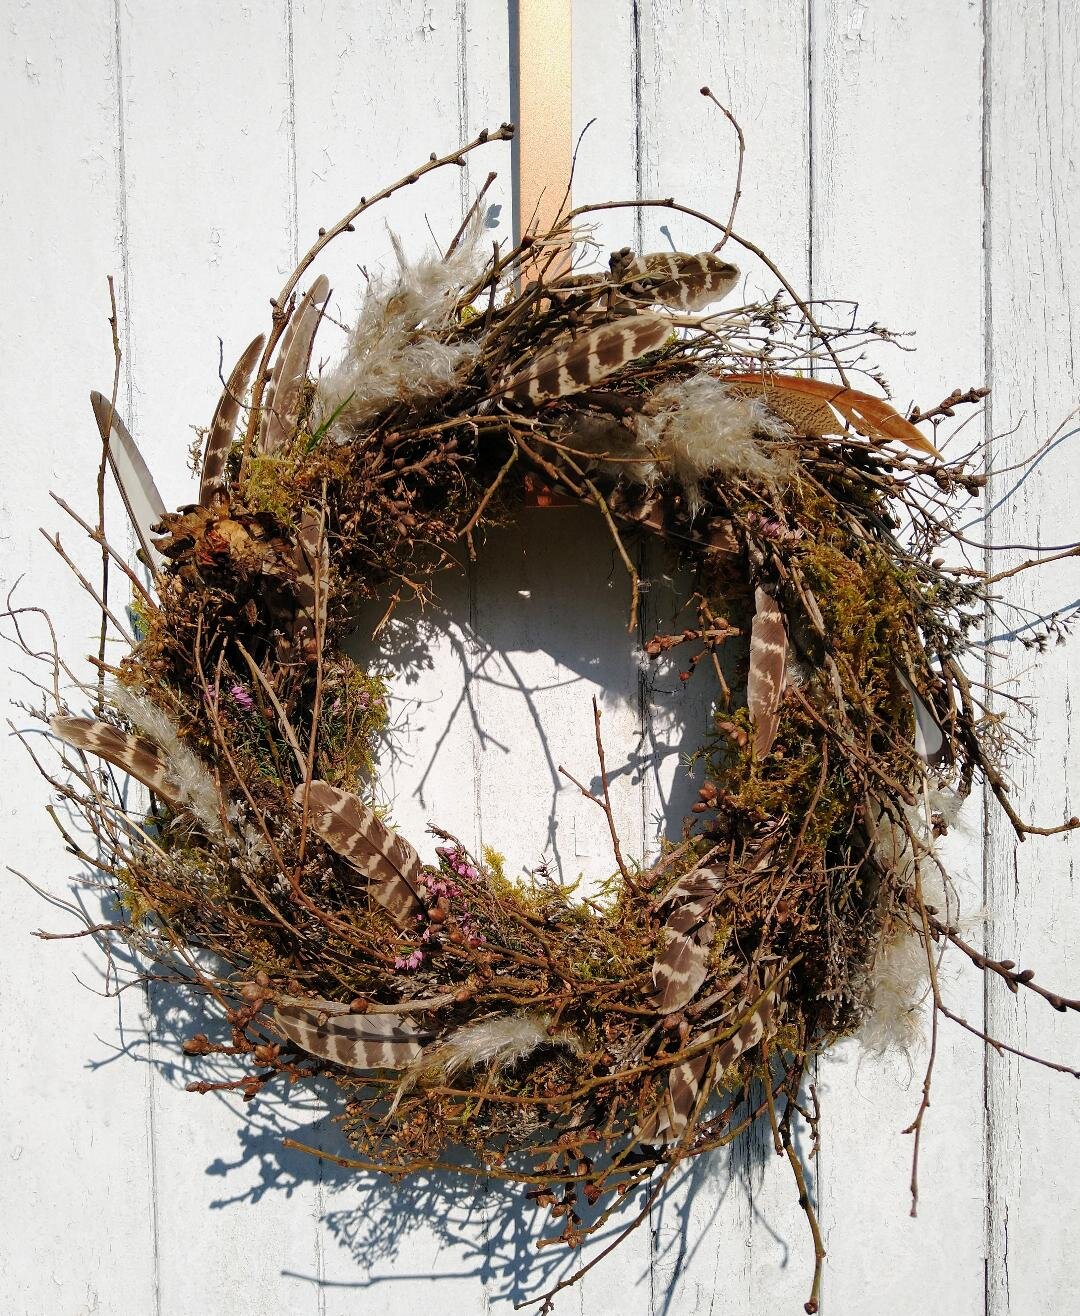
Finished wreath following the How to Easter wreath directions.
Step 4: (Optional) You can finish your Easter wreath with a bow.
I tend to shy away from bows, I don’t use them at Christmas either but a pretty bow made from pastel-coloured ribbon to the top of your wreath can serve as the perfect finishing touch, adding a pop of colour and elegance to your creation. If you fancy a bow, go for it!
That’s it. It’s that easy. Here is the finished product in all it’s glory.
Voila! Your Easter wreath is now ready to hang and enjoy. Whether displayed on your front door or as a centre piece for your Easter table, this charming creation is sure to delight guests and spark conversation. So why not embrace your love for crafts in a whole new way this spring? Happy crafting!
What do you think? Are you feeling inspired to create your own? Did you find my how to steps helpful? I would love to see what you create so please share.
If you are interested in attending one of my future workshops to flex your creative skills and build your confidence then read more here
If you are looking for other ways to decorate your house for Easter then read this blog I have written about fun decorating ideas for Easter.
ABOUT THE AUTHOR
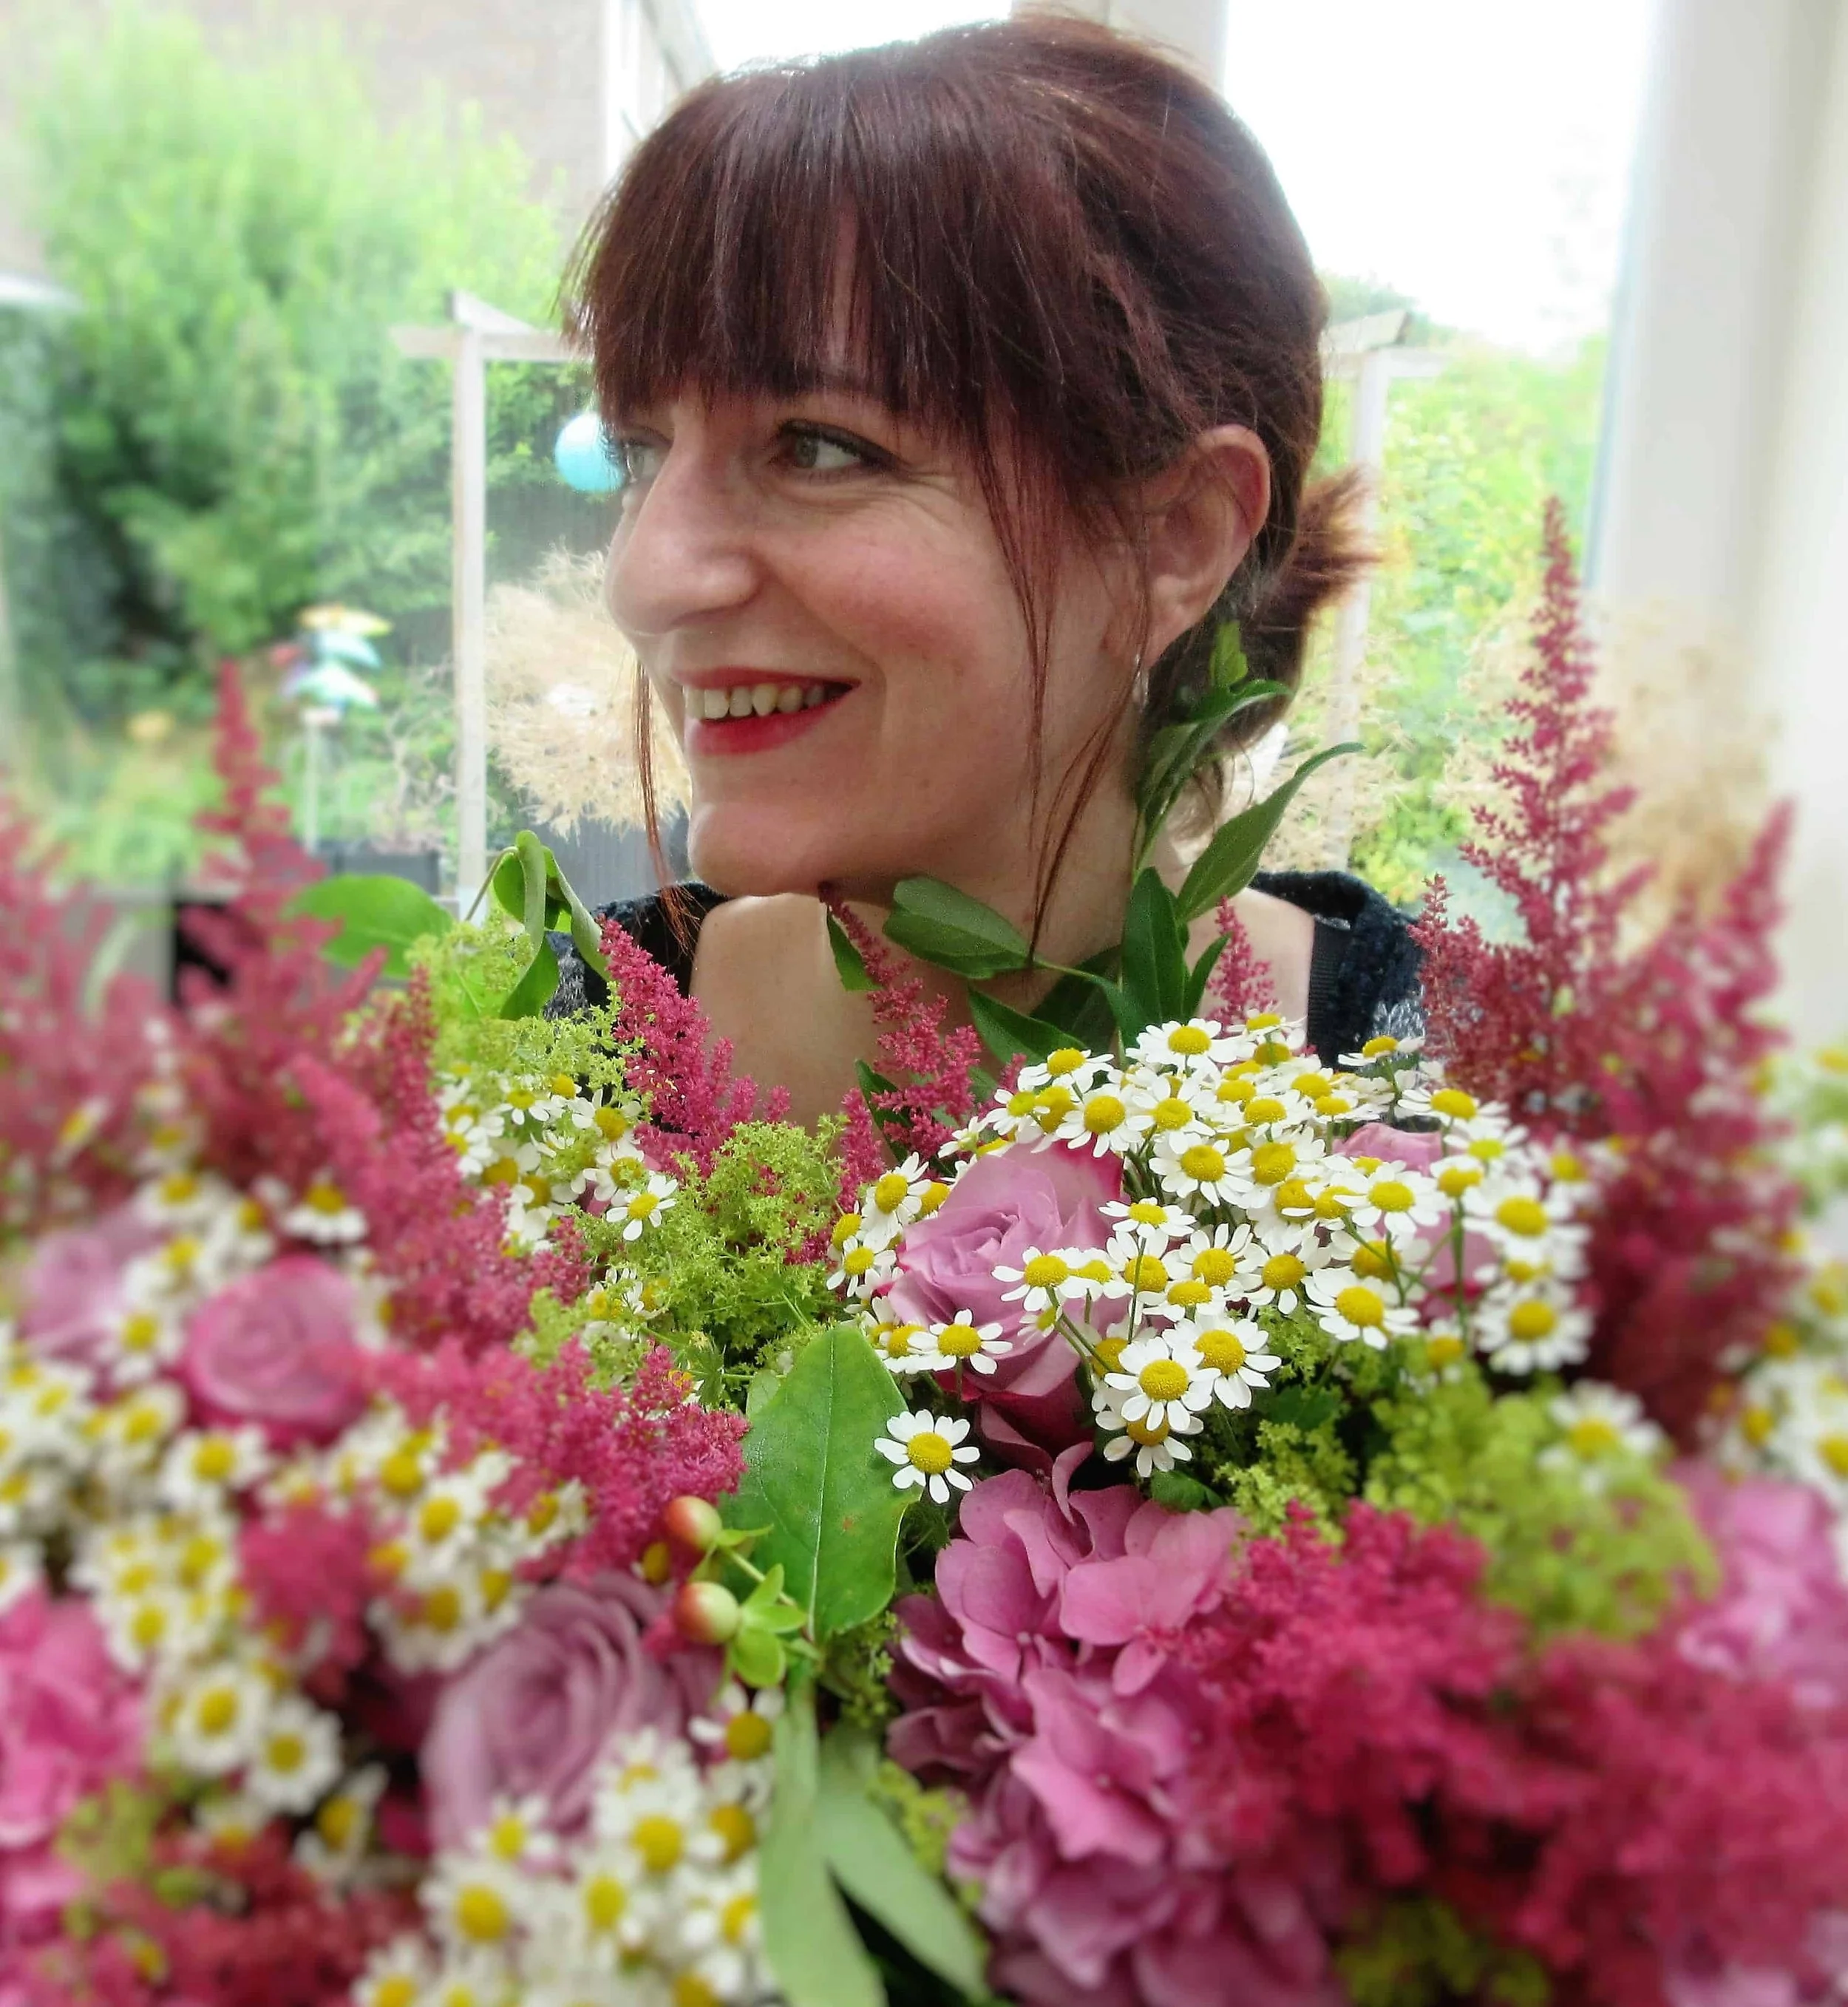
Anne-Marie, the face of Petal Power
Hi! I'm Anne-Marie, Petal Power is me!
I run my weddings and event floristry business out of my studio in Creigiau, Cardiff, South Wales.
I hope you have enjoyed reading this blog.
If you want even more prettiness take a look back at my page. You will find information on the latest beautiful weddings I have been lucky enough to be a part of.
Also, you can keep up to date with essential advice, craft ideas, my favourite seasonal wedding flowers and more.
You can find out more about me and my work here.
Anne-Marie xoxo
Follow me on Instagram
This gallery area is linked to my Instagram account where I post all my latest weddings, projects and news. I would love it if you follow me.
See you there!

Are you getting married?
I have created a page just for you.
It’s only natural that you have a load of questions when planning your wedding flowers.
Some of the most common questions that keep cropping up I have already answered. You will find this page helpful; to read more CLICK HERE
I have written so many blogs, take a few moments and have a good look.
But if you are thinking of attending one of my in person workshops please register your interest.
I still have some availability for this year and next year. If you have booked your wedding date get in touch to discuss your wedding flowers.
I look forward to speaking to you.